##CONTINUE##
安裝過程如下
step1:加入beryl套件庫來源並且安裝套件庫的apt-key
sudo gedit /etc/apt/sources.list
加入以下套件來源:
deb http://ubuntu.beryl-project.org/ feisty main
安裝套件庫的apt-key
wget http://ubuntu.beryl-project.org/root@lupine.me.uk.gpg -O- | sudo apt-key add -
Step2:安裝nvidia driver
sudo apt-get update && sudo apt-get install linux-restricted-modules-$(uname -r) nvidia-glx
Step3:安裝完nvidia driver之後,要修改xorg.conf把nvidia driver啟用
sudo nvidia-xconfig --add-argb-glx-visuals
Step4:再來要將x window重開,才會重新load nvidia的driver
CTRL+ALT+BackSpace
PS:以上2,3,4步驟參考安裝beryl
Step5:修改/etc/X11/xorg.conf
sudo gedit /etc/X11/xorg.conf
Section "Device"
    Identifier     "nVidia Corporation NV31 [GeForce FX 5600XT]"
    Driver         "nvidia"
    Option         "TripleBuffer" "true"
EndSection

以及
   SubSection     "Display"
        Depth       24
        Modes      "1024x768" "800x600" "640x480"
    EndSubSection
        # Enable 32-bit ARGB GLX Visuals
        Option "AddARGBGLXVisuals" "True"
EndSection
此步驟參考Ubuntu玩全手冊
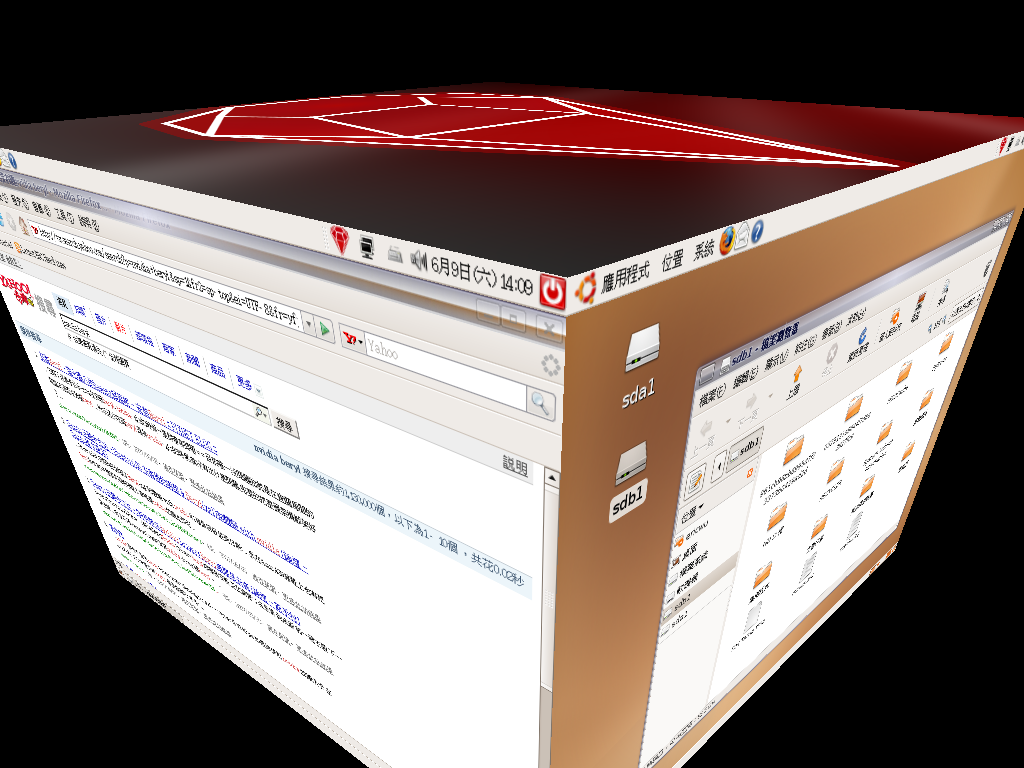
Step6:安裝beryl
sudo apt-get install beryl emerald emerald-themes
sudo apt-get beryl-manager
如此一來就大功告成了,爽!
沒有留言:
張貼留言